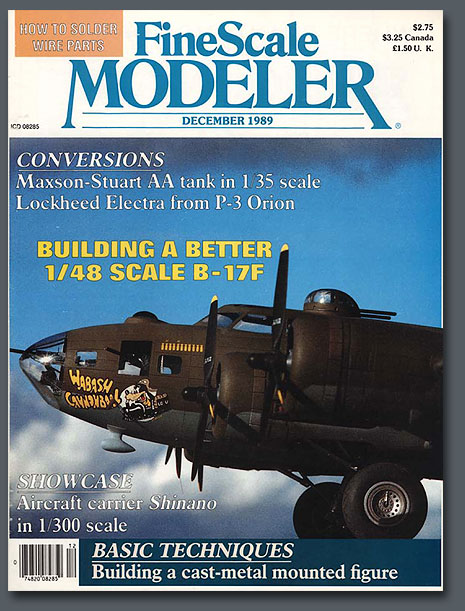
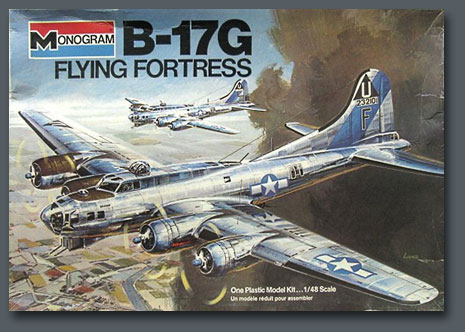
This article commemorates the 40 year anniversary of the 1/48 scale Monogram B-17G. A kit that has been in continuous production since its introduction in 1975. Many years ago, I authored an article that appeared in the December issue of FineScale Modeler. The article dealt with a conversion of the Monogram “G” model to an earlier “F” model. To my amazement, it has proved to be the magazine article for which I am best known. In addition, I still receive questions asking me to explain some of what I did in more detail.
Recently while scouring my files, I came across additional information that never made it into the original magazine article. The photos are not up to current image standards as they are scans of 35mm slides and black & white negatives, but I think they still provide a good illustration of my construction method. My intention here was to present the additional material as well as some background to this great old kit.
This interesting narration of the beginnings of the Monogram B-17 kit has been excerpted from Thomas Graham's wonderful book “Monogram Models,” published by Schiffer.
“At the same time that Monogram advanced on the snap assembly front, it continued to bring out innovative new scale models for serious hobbyists. In 1975 it took a major gamble on a big 1/48 scale kit of a B-17G that would build out to a model nineteen inches long, with a wingspan of twenty-six inches. The cost of tooling such a kit would be tremendous. Was it possible to sell enough of these kits to justify the investment?
Monogram had already gambled on big kits before, the 1/8 scale cars and the B-52 from a few years earlier, which was actually a little larger in size than the B-17. The sales department figured that the kit could pay for itself if the big retail stores would carry it as a big ticket item. Engineering said that the cost could be held down by keeping the part count low. So the B-1 7 got the go-ahead for development.
In search of reference material, Roger Harney made a blind phone call to Boeing in Seattle and reached their archivist. He laughed and said that, sure, he'd be happy to loan Monogram some materials. When it arrived, Harney was staggered. It included the company's illustrated parts breakdown book, the erection and maintenance manual, and the pilot's manual. Plus a four-inch thick stack of photos. Plus a huge one quarter scale drawing of the interior of the B-17! This drawing went up on the wall of the design shop, partly as reference and partly as inspiration.
Thanks to this detailed information, the model would be one of the most accurate ever produced. However, not much of the interior detail from the drawing went into the interior of the fuselage. There was not even a detailed bomb bay interior because its doors were molded solidly into the fuselage halves. "We got shot down on the tooling costs," lamented Harney. "The model kit ended up with just seventy-four parts compared to the B-52's 207 parts. Any ten to fifteen year old ought to be able to build it."
To make Monogram's sales force happy, the Flying Fortress was released in August 1975 so that it would available in stores just in time for the post-Thanksgiving Christmas sales rush. And it cost only $8.50.
The release of the big B-17G in 1975 marked the return of painted illustrations to Monogram's kit boxes. Appropriately, Dick Locher provided the art. He was pleased that Monogram had restored painted art because it provided more "pizzazz" than a photo. However, John Cather retained photographs on the side panels to show what the built kit would look like and to serve as references for the model builder. Locher wrote some proposed side panel text for the B-17, sneaking in the line "Stuttgart not included." (However, that didn't make it into the final version!) Locker enjoyed working with Besser and Cather. "It was so much fun talking with the draftsmen and model makers. They were really good people."
Four years later somebody at Monogram came up with the bright idea of giving the B-17 a clear fuselage half so the interior could be seen. The Visible B-17 (5620) did not prove to be a good seller and has not been reissued since 1981. However, the original issue B-17G Flying Fortress demonstrated year after year that it could go the distance. It has remained in the Monogram and Revell-Monogram catalogs continuously since 1975, always under its original kit number 5600. Soon it will pass the venerable B-25 (PA7) for honors as the Monogram kit with the longest continuous string of years on the market.

The kit was originally issued with a wonderful sheet illustrating the artistry of Shepard Paine. These diorama sheets are a collector’s item in their own right.
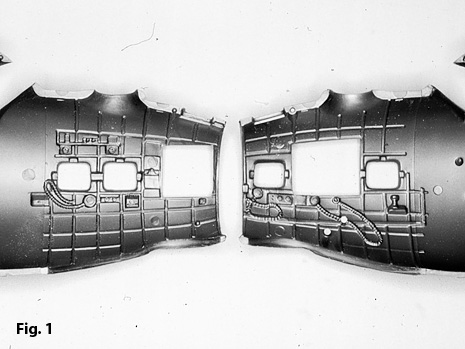
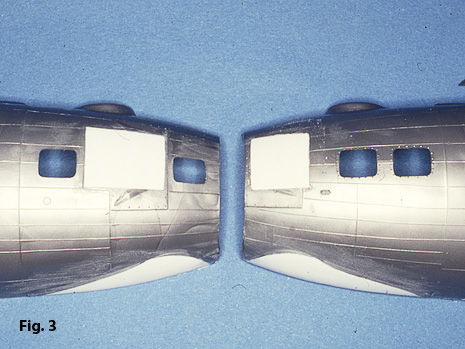
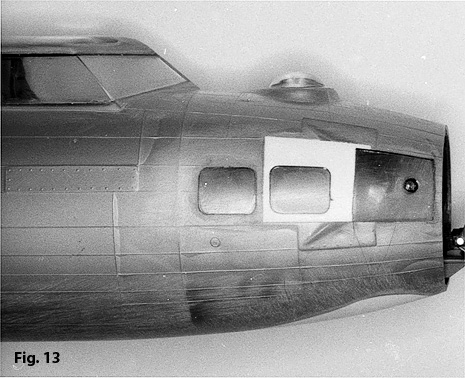
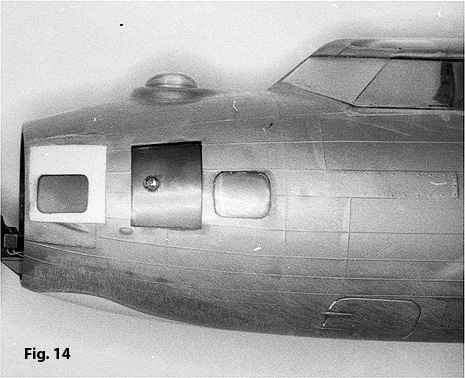
The conversion process begins with the most obvious difference, the nose. The process is fairly straightforward. I began by removing the chin faring and large cheek windows, Fig. 1. With the aid of a small glass bottle and heat, sheet styrene was formed into a curve roughly the same as that of the fuselage, Fig. 2. The formed styrene was cut to fit and cemented to place in the cheek and chin cutouts, Fig. 3.

The new window openings were laid out and cut. The cutouts are made slightly oversized. The final window size and shape would be established with the paint masks. Scotch tape was placed over the window openings. A sharp blade run around the edge of the opening cuts a pattern for the clear window, Fig. 4. Clear acrylic was heat formed over the same glass jar as used in the above step, Fig. 5.


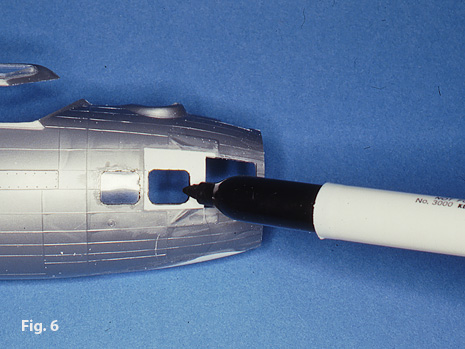
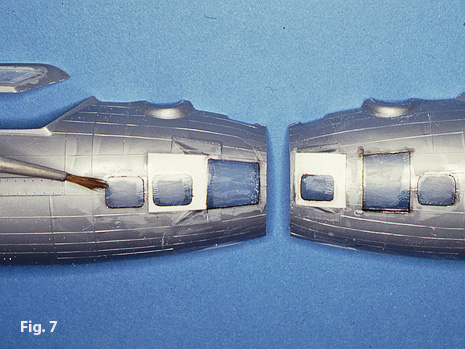
A black Sharpie was run around the opening prior to the cementing of the windows. The windows were cemented to place with Micro Weld, Fig. 7. Any minor gaps were filled with Zap-A-Gap.
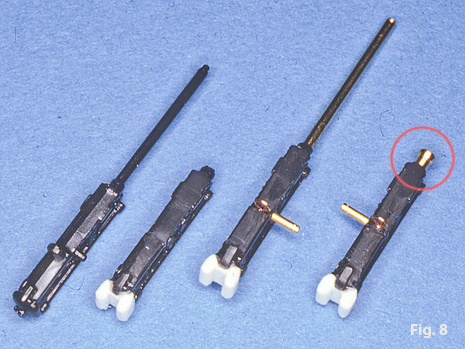
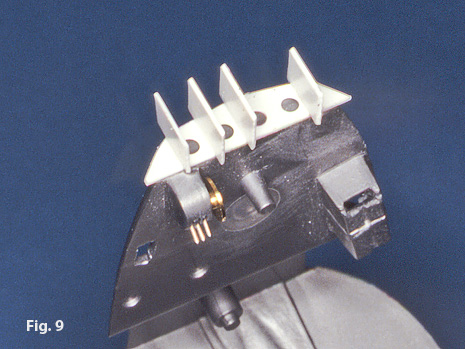
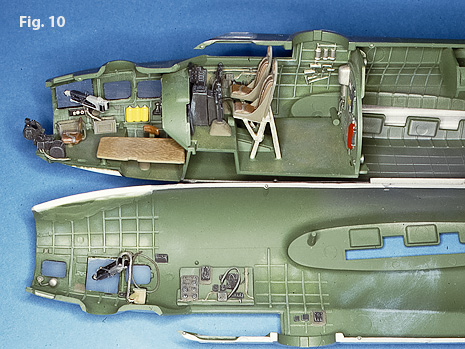
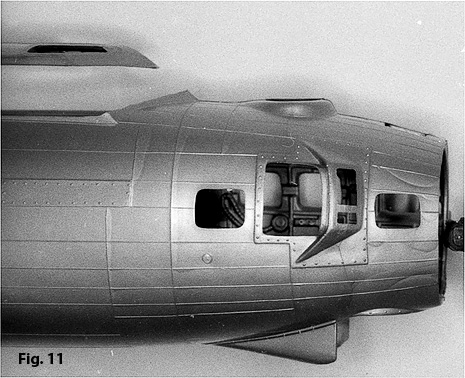
The kit .50 cal. machine guns received minor modifications. A brass machining fitted to the receiver of the nose guns has a ball end and is drilled to accept the barrel, Fig. 8. This allowed the gun to be cemented in place without the barrel getting in the way of the other finishing work. Styrene bits were used to add some detail the front of the bombardier’s station, Fig. 9. The completed interior prior to cementing of the fuselage halves, Fig. 10. Figures 11 – 14 is a comparison of the before and after conversion.

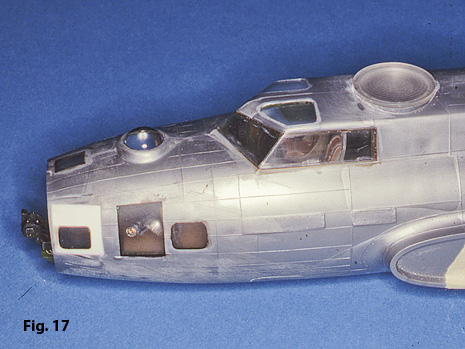
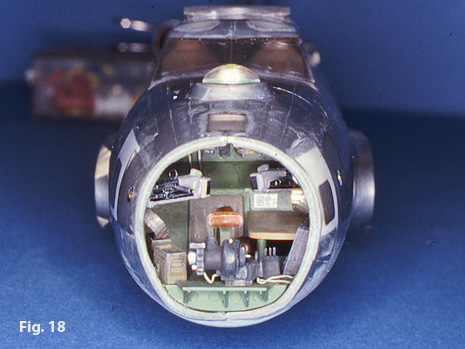
I milled some acrylic to a thinner cross-section to use for the cockpit windscreen, Fig. 15. The windscreen opening was slightly enlarged and replacement acrylic sheet was cemented to place, Fig. 16. Clear acrylic was also used in enlarged opening for the windows above the cockpit and bombardier. The final nose modifications prior to fitting the nose piece, Figs 17, 18.


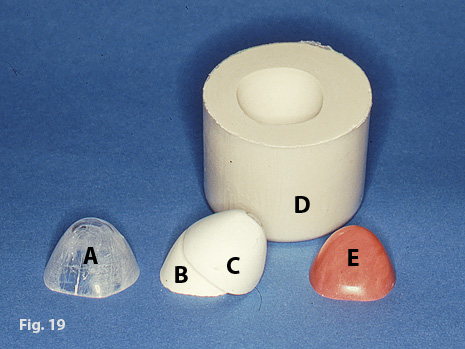
The nose perspex for the “F” model is longer and more pointed then that of the “G” model. Figure 19 shows the steps I used to form a new nose. “A” is the original kit nose. “B” is a plaster casting of the interior of the kit nose. I vacuformed styrene over the plaster, “C”. I used the styrene piece to refine my shape. “D” is the rubber mold of the refined shape. The final form “E” was made from dental resin poured into the rubber mold. Clear acrylic was vacuformed over the final form, Fig. 20.

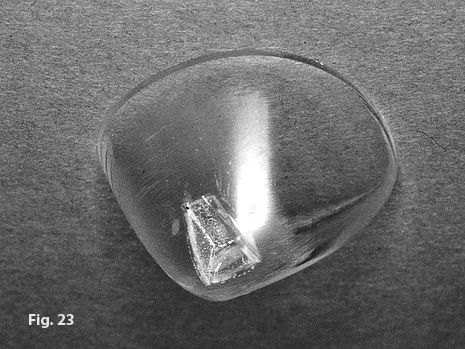
The opening for the .50 cal. mount was laid out with masking tape, Fig. 21. Thin acrylic was cut and fit to the opening for the .50 cal. mount, Fig. 22. The excess material was removed and the area polished, Fig. 23. The internal supports were fashioned from brass wire, Fig. 24.